Last Updated: October 2026
Quick Answer: A basement wet bar is a bar area with its own sink and running water, usually built along one wall or in a corner of a finished basement. Most need 6 to 10 feet of wall, a 36 inch counter, an undercounter beverage fridge and a drain connection. In the GTA, a professionally built custom wet bar typically starts around $15,000.
The best basement wet bar ideas start with where your plumbing can reach, then layer in cabinetry, a durable stone counter and good lighting. A single-wall bar with a sink, beverage fridge and glass-front uppers suits most basements. Corner, L-shaped and back-bar layouts work when you have more room and want seating.
In more than 30 years of building cabinetry in our Thornhill woodshop, I have seen the basement wet bar become one of the most-used rooms in the house. It is where families gather for hockey nights in Markham, graduation parties in Vaughan and quiet evenings in North York. This guide walks through the layouts, materials and planning decisions behind wet bars that get built well and used for years.
What Is a Wet Bar?
A wet bar is a bar or beverage station that includes a sink with hot and cold running water. A dry bar has the same cabinets, counter and fridge but no sink. The sink is what lets you rinse glasses, fill an ice bucket and clean up without walking back to the main kitchen.
| Wet bar | Dry bar | |
|---|---|---|
| Sink and running water | Yes | No |
| Plumbing work and permit | Usually required | Not required |
| Typical length | 6–10 feet | 4–8 feet |
| Best for | Regular entertaining, families who host | Occasional use, tight budgets |
| Easy to move later | No | Yes |
A wet bar is not a second kitchen. It typically has a bar sink, an undercounter fridge and storage, but no stove or cooktop. Keeping cooking appliances out keeps the project simpler; our guide to basement kitchen ideas, costs and rules explains what changes once you add one.
Should You Put a Wet Bar in Your Basement?
A basement is the most common place for a wet bar in GTA homes, and for good reason. It keeps drinks, glassware and guests out of the main kitchen, and it gives the basement a reason to be used every week. If you already have a rec room, media wall or games area, a wet bar ties the space together.
The main question is plumbing. If there is a drain stack or existing basement bathroom nearby, a wet bar is usually straightforward. If not, it can still be done, but plan for more plumbing work or a sink pump.
10 Basement Wet Bar Ideas by Layout and Size
The right layout depends on how much wall you have and whether guests will sit at the bar. These are the designs we build most often across Thornhill, Richmond Hill and Vaughan.
| Layout | Wall space needed | Seating | Best for |
|---|---|---|---|
| Single-wall bar | 6–10 ft | None, or a nearby table | Most basements |
| Corner bar | About 5 ft on each wall | Optional | Awkward corners, smaller rooms |
| L-shaped bar | 8 ft + 5 ft return | 2–3 stools on the return | Hosts who want a gathering point |
| Back bar with island | 8–12 ft + island | 3–5 stools | Large rec rooms |
| Hidden bar | 4–6 ft | None | Multi-use rooms, clean look |
- The single-wall bar. A bar sink, a 24 inch beverage fridge, lower drawers and glass-front uppers along one wall. It is the simplest layout to plumb and fits most GTA basements.
- The corner bar. Uses a corner that is otherwise wasted. A diagonal sink base or a lazy Susan keeps the corner usable.
- The L-shaped entertainer. A return counter at 42 inches gives guests a place to lean or sit while the host works at the 36 inch counter.
- The back bar with island. A full back wall of storage and display, with a separate island for seating. This suits larger homes in King City, Aurora and Richmond Hill with open lower levels.
- The hidden bar. Pocket or bifold doors close over the bar when it is not in use, so the room can double as an office or gym.
- The wine wall bar. Floor-to-ceiling wine storage beside the bar, with a dual-zone wine fridge for whites and sparkling.
- The coffee and beverage bar. The same layout with an espresso machine and drink fridge, for households that drink less alcohol but still want a morning or evening station.
- The media wall bar. The bar is built into the same run of cabinetry as the TV wall, so the whole room reads as one piece of furniture. See our custom built-ins and wall units for this approach.
- The under-stair bar. The space under a basement staircase holds a compact counter, fridge and shelving. A sink here depends on drain access.
- The games room bar. Bar-height seating facing a pool table or card table, with a durable quartz top that stands up to heavy use.
Wet Bar Cabinets: Custom vs Stock
Cabinetry sets the look of a wet bar and decides how well it holds up around water. Stock bar cabinets come in fixed sizes, while custom wet bar cabinets are built to the exact wall, sink and appliances.
| Stock wet bar cabinets | Custom wet bar cabinets | |
|---|---|---|
| Sizes | 3 inch increments, fillers to close gaps | Built to the exact wall length |
| Box material | Often particleboard | Plywood or moisture-resistant MDF |
| Appliance fit | Standard openings only | Sized for your beverage fridge, ice maker or wine fridge |
| Specialty storage | Limited | Stemware racks, wine cubbies, bottle drawers, glass-front uppers |
| Finishes | Small range of colours | Any paint colour, stain or veneer |
| Typical timeline | In stock to a few weeks | Often 6–10 weeks from design approval |
Because our in-house woodshop builds each wet bar to order, we can match the cabinetry to your kitchen or to a nearby wall unit. For a fuller comparison, read our guide to custom vs stock cabinets.
Counter and Backsplash Choices
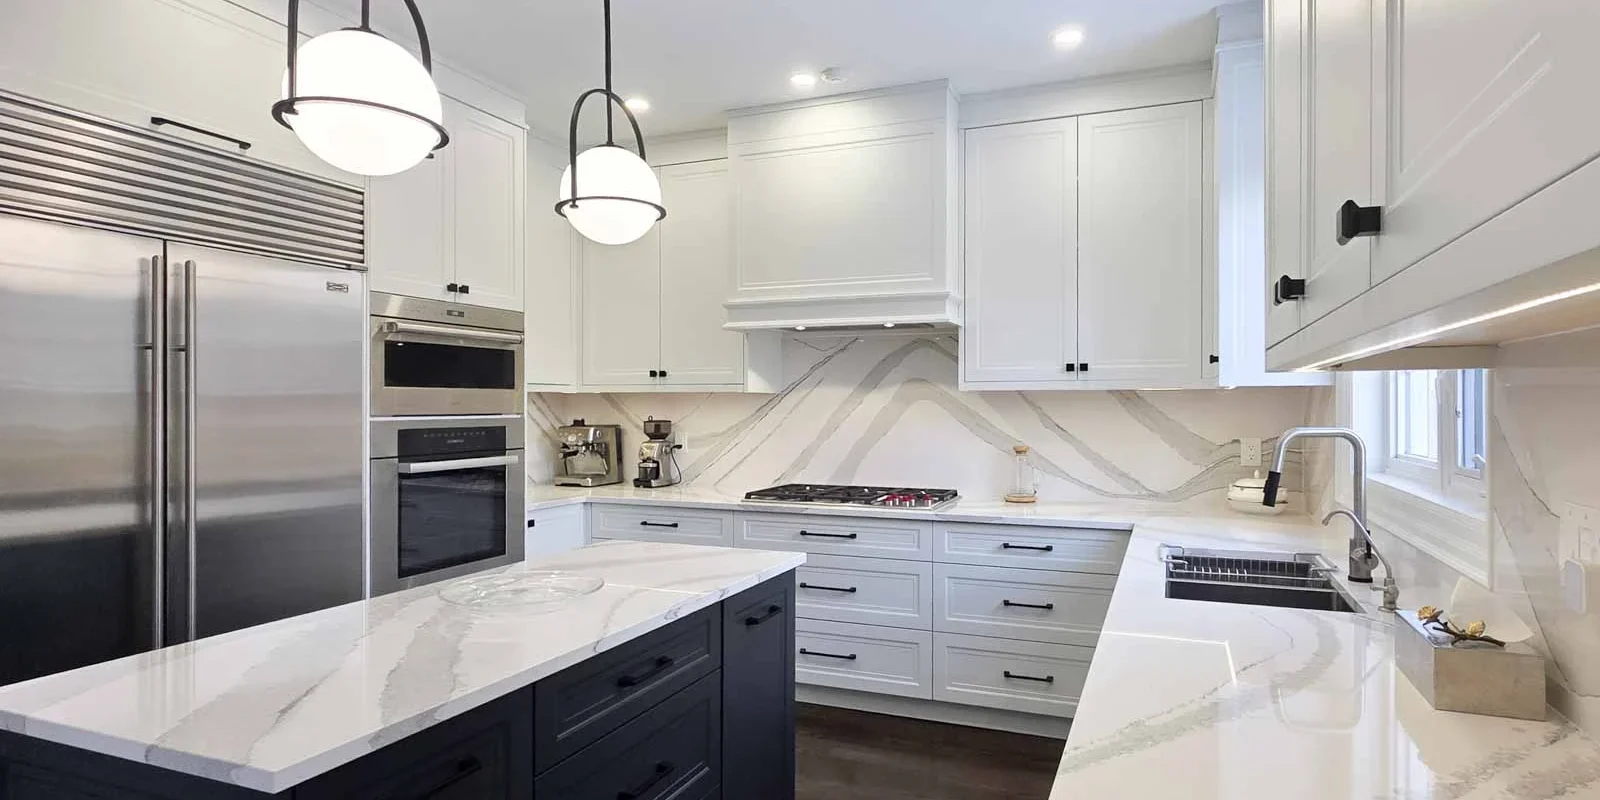
A wet bar counter needs to resist water, citrus, wine and heavy glassware. Quartz from brands like Cambria, Hanstone and LG Viatera is the most common choice because it does not need sealing and resists stains. Granite works well too and suits Classic designs, while marble looks beautiful but etches from lemon and wine.
For the backsplash, a full-height quartz slab, a mirrored panel or a handmade zellige tile all work. Browse our wet bar countertop gallery for real installations, or see our countertop options.
Matching the Wet Bar to Your Style
A Classic wet bar uses raised-panel doors, crown moulding and a warm stain, often with brass hardware and a granite top. A Transitional bar pairs shaker doors in a deep green or navy with a white quartz counter and matte black fixtures. A European Modern bar uses flat slab doors in walnut veneer or high-gloss lacquer, integrated handles and LED strips under every shelf.
The wet bar does not have to match the main floor kitchen, but it should feel related. Repeating one element, such as the counter, the hardware finish or the door style, ties the house together.
How to Plan a Basement Wet Bar: Plumbing, Electrical and Permits
The work behind the walls decides where a wet bar can go and what it costs. These are the steps we follow on every basement wet bar.
- Find the nearest drain. Locate the main drain stack or an existing basement bathroom. The closer the bar sink is to it, the simpler the plumbing.
- Check whether the sink can drain by gravity. In many basements the sink sits below the sewer line. In that case a small drain pump, such as a Saniflo unit, carries water up to the stack.
- Get the right permits. In Ontario, adding a new plumbing fixture generally needs a municipal building permit. Electrical work needs a separate notification of work with the Electrical Safety Authority, which a licensed electrical contractor files.
- Plan the electrical. Most wet bars need a circuit for the beverage fridge, outlets with GFCI protection near the sink, and power for under-cabinet and shelf lighting. An ice maker or dishwasher drawer may need its own circuit.
- Rough in before drywall. Supply lines, the drain, outlets and lighting wires go in while the walls are open, matched to the cabinet drawings.
- Build the cabinetry. Our woodshop builds the cabinets to the final measurements while the room is drywalled and painted.
- Install, template and finish. Cabinets go in first, then the stone fabricator templates the counter. The sink, faucet, appliances and lighting are connected last.
Our full trades team of plumbers, electricians and on-site carpenters works from one plan, so the rough-in matches the cabinets we are building. Before hiring anyone for a wet bar, it is worth reading Ontario’s guide to your rights when starting home renovations, including written contracts and estimates.
Key Wet Bar Measurements
Standard bar and kitchen planning measurements give a reliable starting point. Adjust them to the people who will use the bar.
| Element | Typical measurement |
|---|---|
| Bar counter height | 36 in (91 cm) |
| Bar-height seating counter | 42 in (107 cm) |
| Bar stool seat height (for 42 in counter) | 28–30 in (71–76 cm) |
| Knee overhang for seating | About 12 in (30 cm) |
| Bar sink size | About 15 × 15 in (38 × 38 cm) |
| Undercounter beverage fridge width | 15 or 24 in (38 or 61 cm) |
| Clear walkway behind the bar | At least 36 in (91 cm) |
Lighting and Display
Basements have little natural light, so lighting does most of the work in a wet bar. Layer it: LED strips under the upper cabinets for the counter, lit glass shelving or glass-front uppers for display, and two or three pendants over a seating counter. Put the display lighting on a dimmer so the bar can go from bright to evening.
Glass shelves with integrated LEDs, a mirrored back panel and open walnut or white oak shelving all make bottles and glassware part of the design. Keep everyday glasses in a closed drawer near the sink so the display stays tidy.
Budget vs Premium Wet Bars
The size of the bar and the finishes you choose shape the budget more than anything else. Pricing for wet bars in the GTA is covered in detail in our guide to wet bar costs in Richmond Hill and the GTA, where custom builds typically range from $15,000 to $45,000+.
| Essential | Mid-range | Premium | |
|---|---|---|---|
| Layout | Single wall, 6–8 ft | Single wall or corner, 8–10 ft | L-shape or back bar with island |
| Cabinetry | Painted MDF doors, plywood boxes | Shaker or slab, custom colour | Walnut or white oak veneer, glass uppers |
| Counter | Quartz, standard edge | Quartz with full-height backsplash | Premium quartz or natural stone, waterfall edge |
| Appliances | 24 in beverage fridge | Beverage fridge + wine fridge | Wine fridge, ice maker, dishwasher drawer |
| Lighting | Under-cabinet LED | LED + lit shelves | Layered LED, pendants, dimmers |
Every basement is different, so a free in-home consultation is the only way to get an accurate price for your space.
Does a Wet Bar Add Value to Your Home?
A well-built wet bar makes a finished basement more appealing to buyers who entertain, and it adds daily enjoyment while you live there. Its effect on resale value depends on your neighbourhood, the quality of the work and whether the rest of the basement is finished to the same standard. Treat it mainly as an investment in how you use your home, with resale appeal as a secondary benefit.
Permits matter here too. A wet bar installed with proper building permits and an ESA certificate is easier to document when you sell.
Frequently Asked Questions
What is a wet bar?
A wet bar is a bar or beverage station with its own sink and running water. A dry bar has the same cabinets and counter but no sink.
Should I put a wet bar in my basement?
A basement is the most common location for a wet bar, because it keeps entertaining out of the main kitchen and makes the lower level a place people use. It is most straightforward when a drain stack or basement bathroom is nearby.
How much space do you need for a basement wet bar?
A single-wall wet bar needs about 6 to 10 feet of wall. An L-shaped bar with seating needs roughly 8 feet plus a 5 foot return, and at least 36 inches of clear walkway behind it.
Do I need a permit for a basement wet bar in Ontario?
Adding a new sink generally needs a municipal building permit, and new electrical work needs a notification filed with the Electrical Safety Authority. Requirements vary by municipality, so confirm with your city before work begins.
Can you put a wet bar in a basement without a drain?
Yes. If the sink sits below the sewer line or far from the stack, a small drain pump can lift water up to the main drain. It adds cost and needs a power supply, so plan for it early.
How much does a basement wet bar cost?
In the GTA, a professionally built custom wet bar typically ranges from about $15,000 to $45,000+. Size, cabinetry, counters and appliances drive the final price, and a free in-home consultation gives an accurate estimate for your space.
Conclusion: Our Recommendation
For most GTA basements, start with a single-wall wet bar of 8 to 10 feet, placed as close to the existing drain as the room allows. Choose plywood or moisture-resistant cabinet boxes, a quartz counter and a 24 inch beverage fridge, then add an L-shaped seating return only if you have the floor space. Settle the location, permits and rough-in before the drywall goes up.
At Joseph Kitchen & Bath, we design and build every wet bar in our own woodshop and install it with our own trades team, from Thornhill and Richmond Hill to North York, Markham, Vaughan and Toronto. You can see related work in our wall units gallery and countertop gallery.
Book Your Free In-Home Consultation
Every basement is different, so the right layout and the right price depend on your space. A free in-home consultation gives you an accurate estimate for your project. Book your free in-home consultation or call (905) 707-7756.
About the Author — Joseph Darvish, Founder & Lead Designer, Joseph Kitchen & Bath. Joseph Darvish is a kitchen remodel expert and the founder of Joseph Kitchen and Bath. With over 30 years of experience in custom cabinetry and full-service renovation, he personally leads every project from design through installation at his Thornhill, ON showroom and woodshop.
Instagram | Facebook | About Us
Produced by: Joseph Kitchen & Bath.
Disclaimer: The information presented here is intended as general advice only. For exact pricing tailored to your specific needs, it is essential to seek guidance from a qualified expert.